Arts and crafts are a fun way to help our kiddos learn about any holiday and painting is definitely a favorite for most of them. Here is a fun way to put a different “spin” on an old time favorite and to work on social language skills while you’re at it.
Salad Spinner Painting
Materials:
-salad spinner
-paint (you may want to thin it out with water)
-card stock or construction paper (trimmed to fit inside the salad spinner)
-pencil
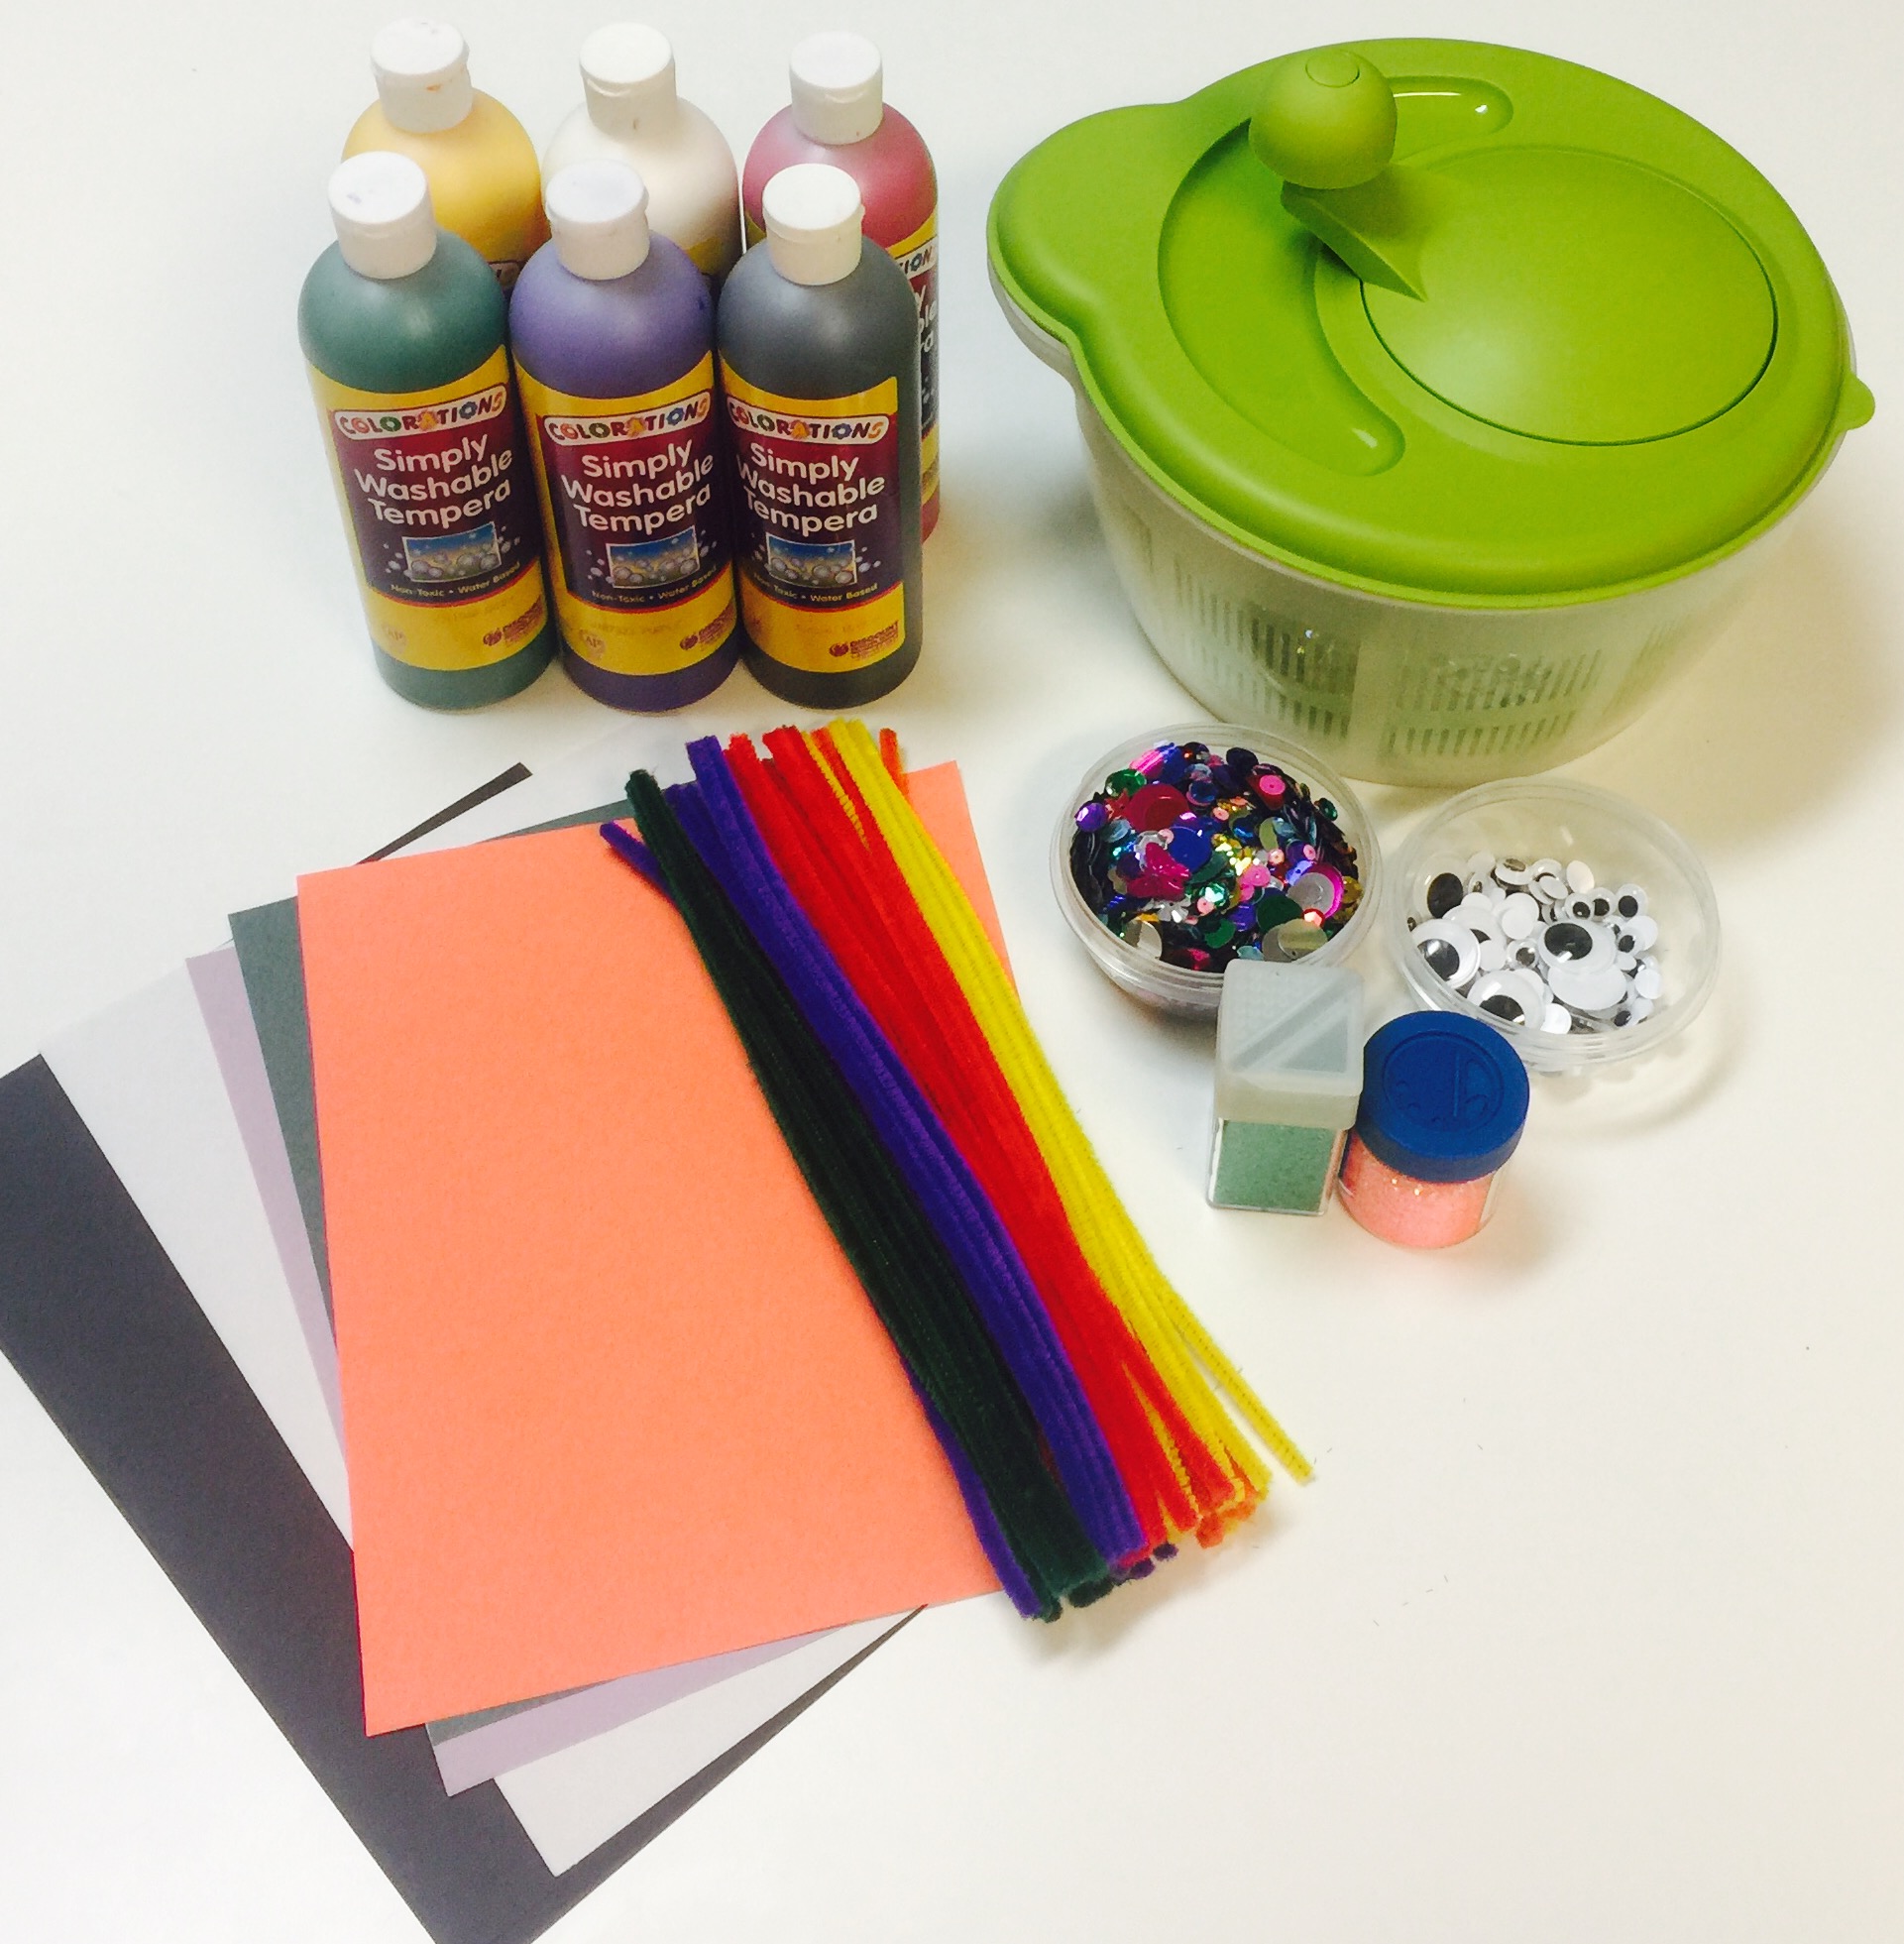
-scissors
Optional materials:
-hole punch
-pipe cleaners
-glue
-googly eyes
-glitter
-sequins
Steps:
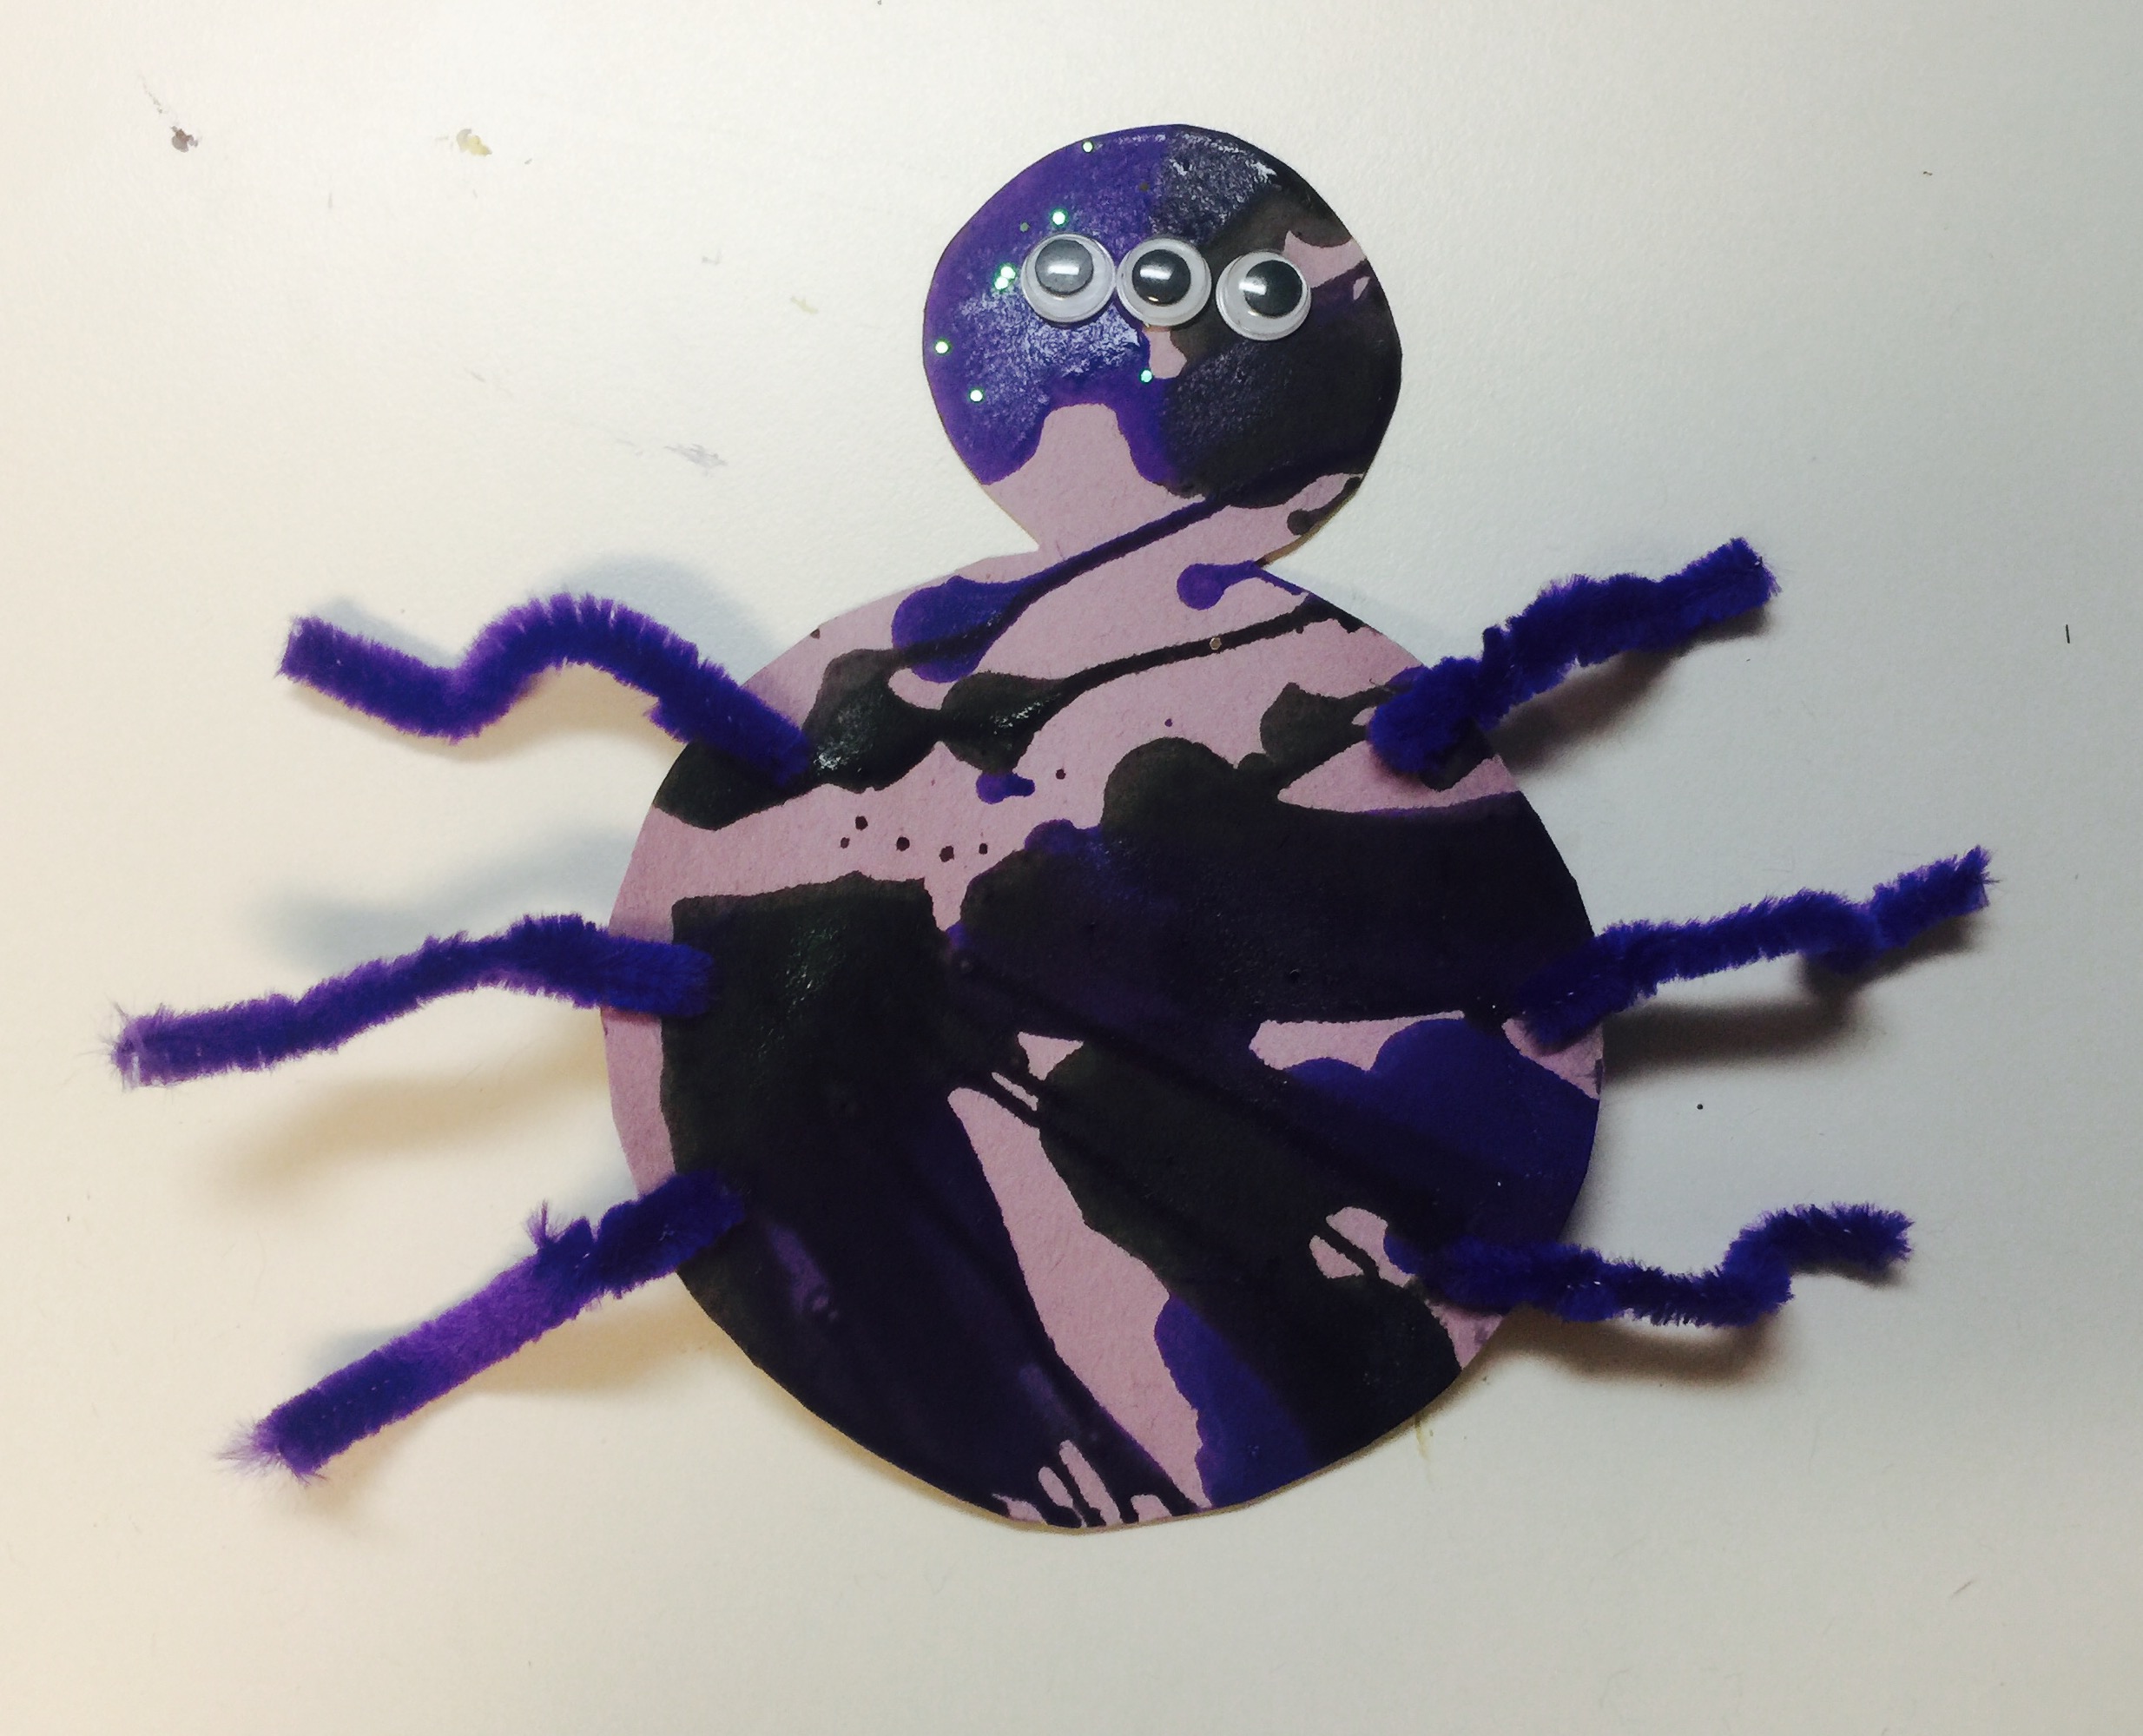
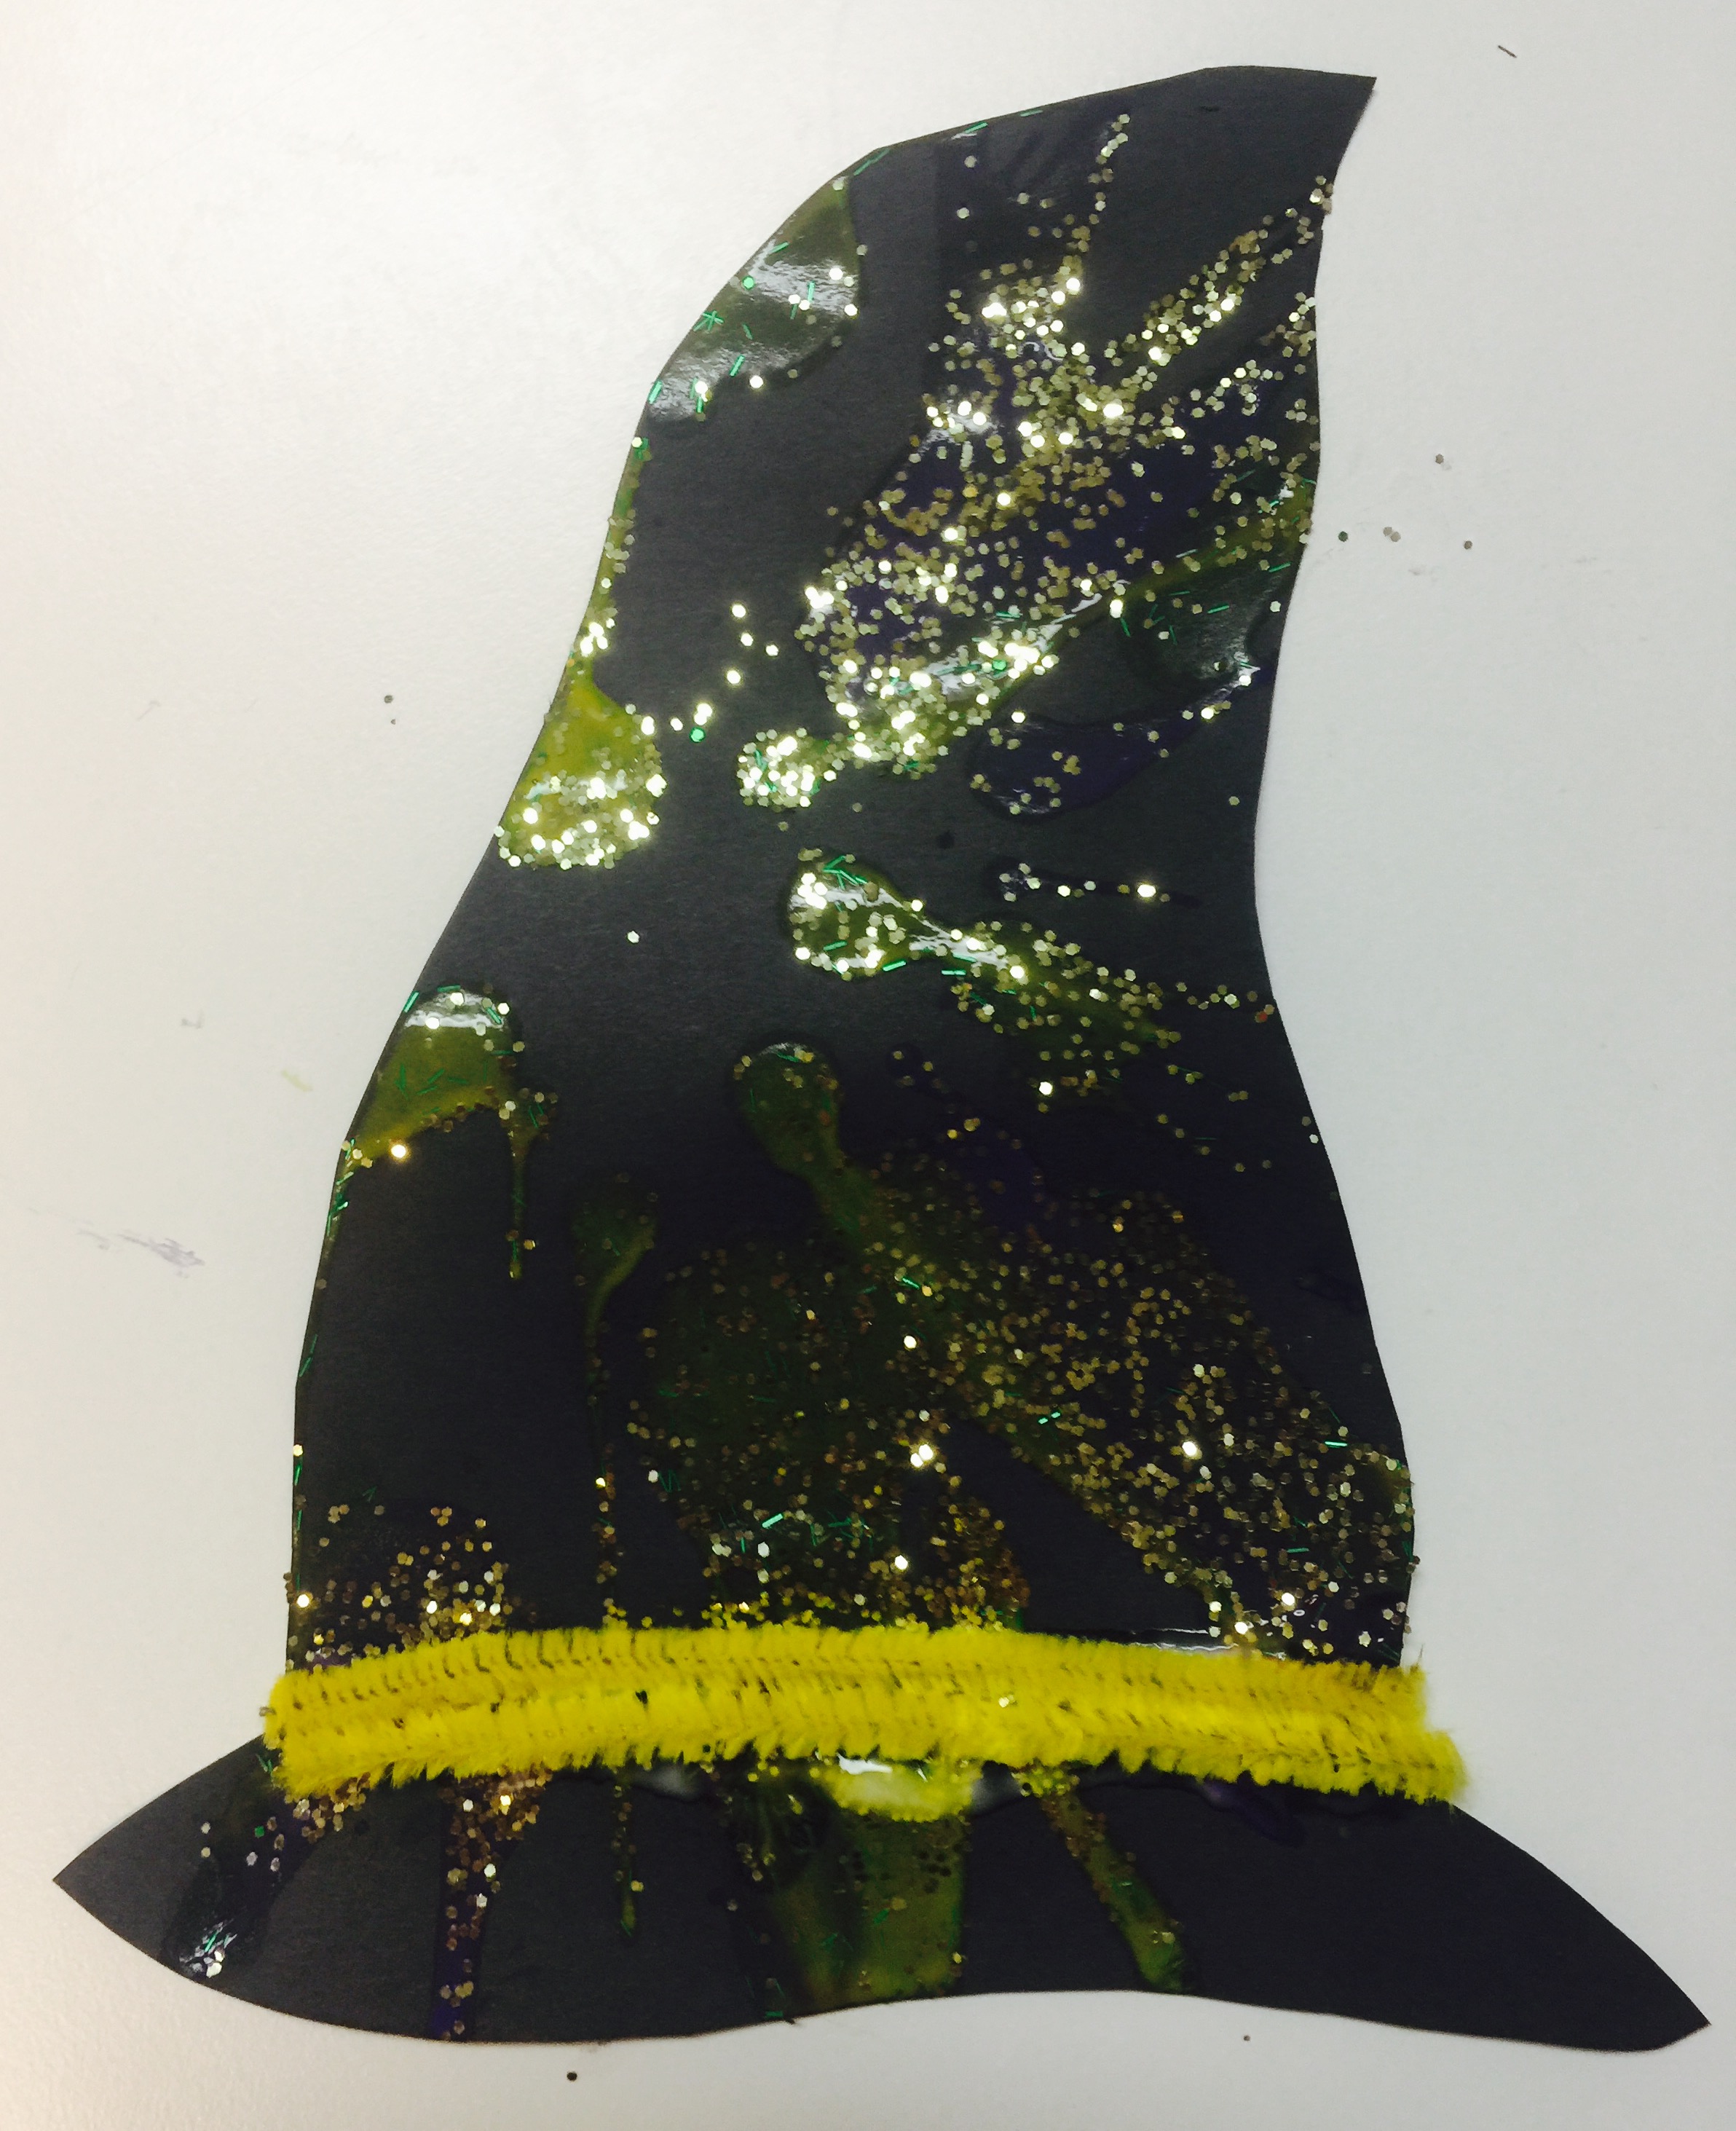
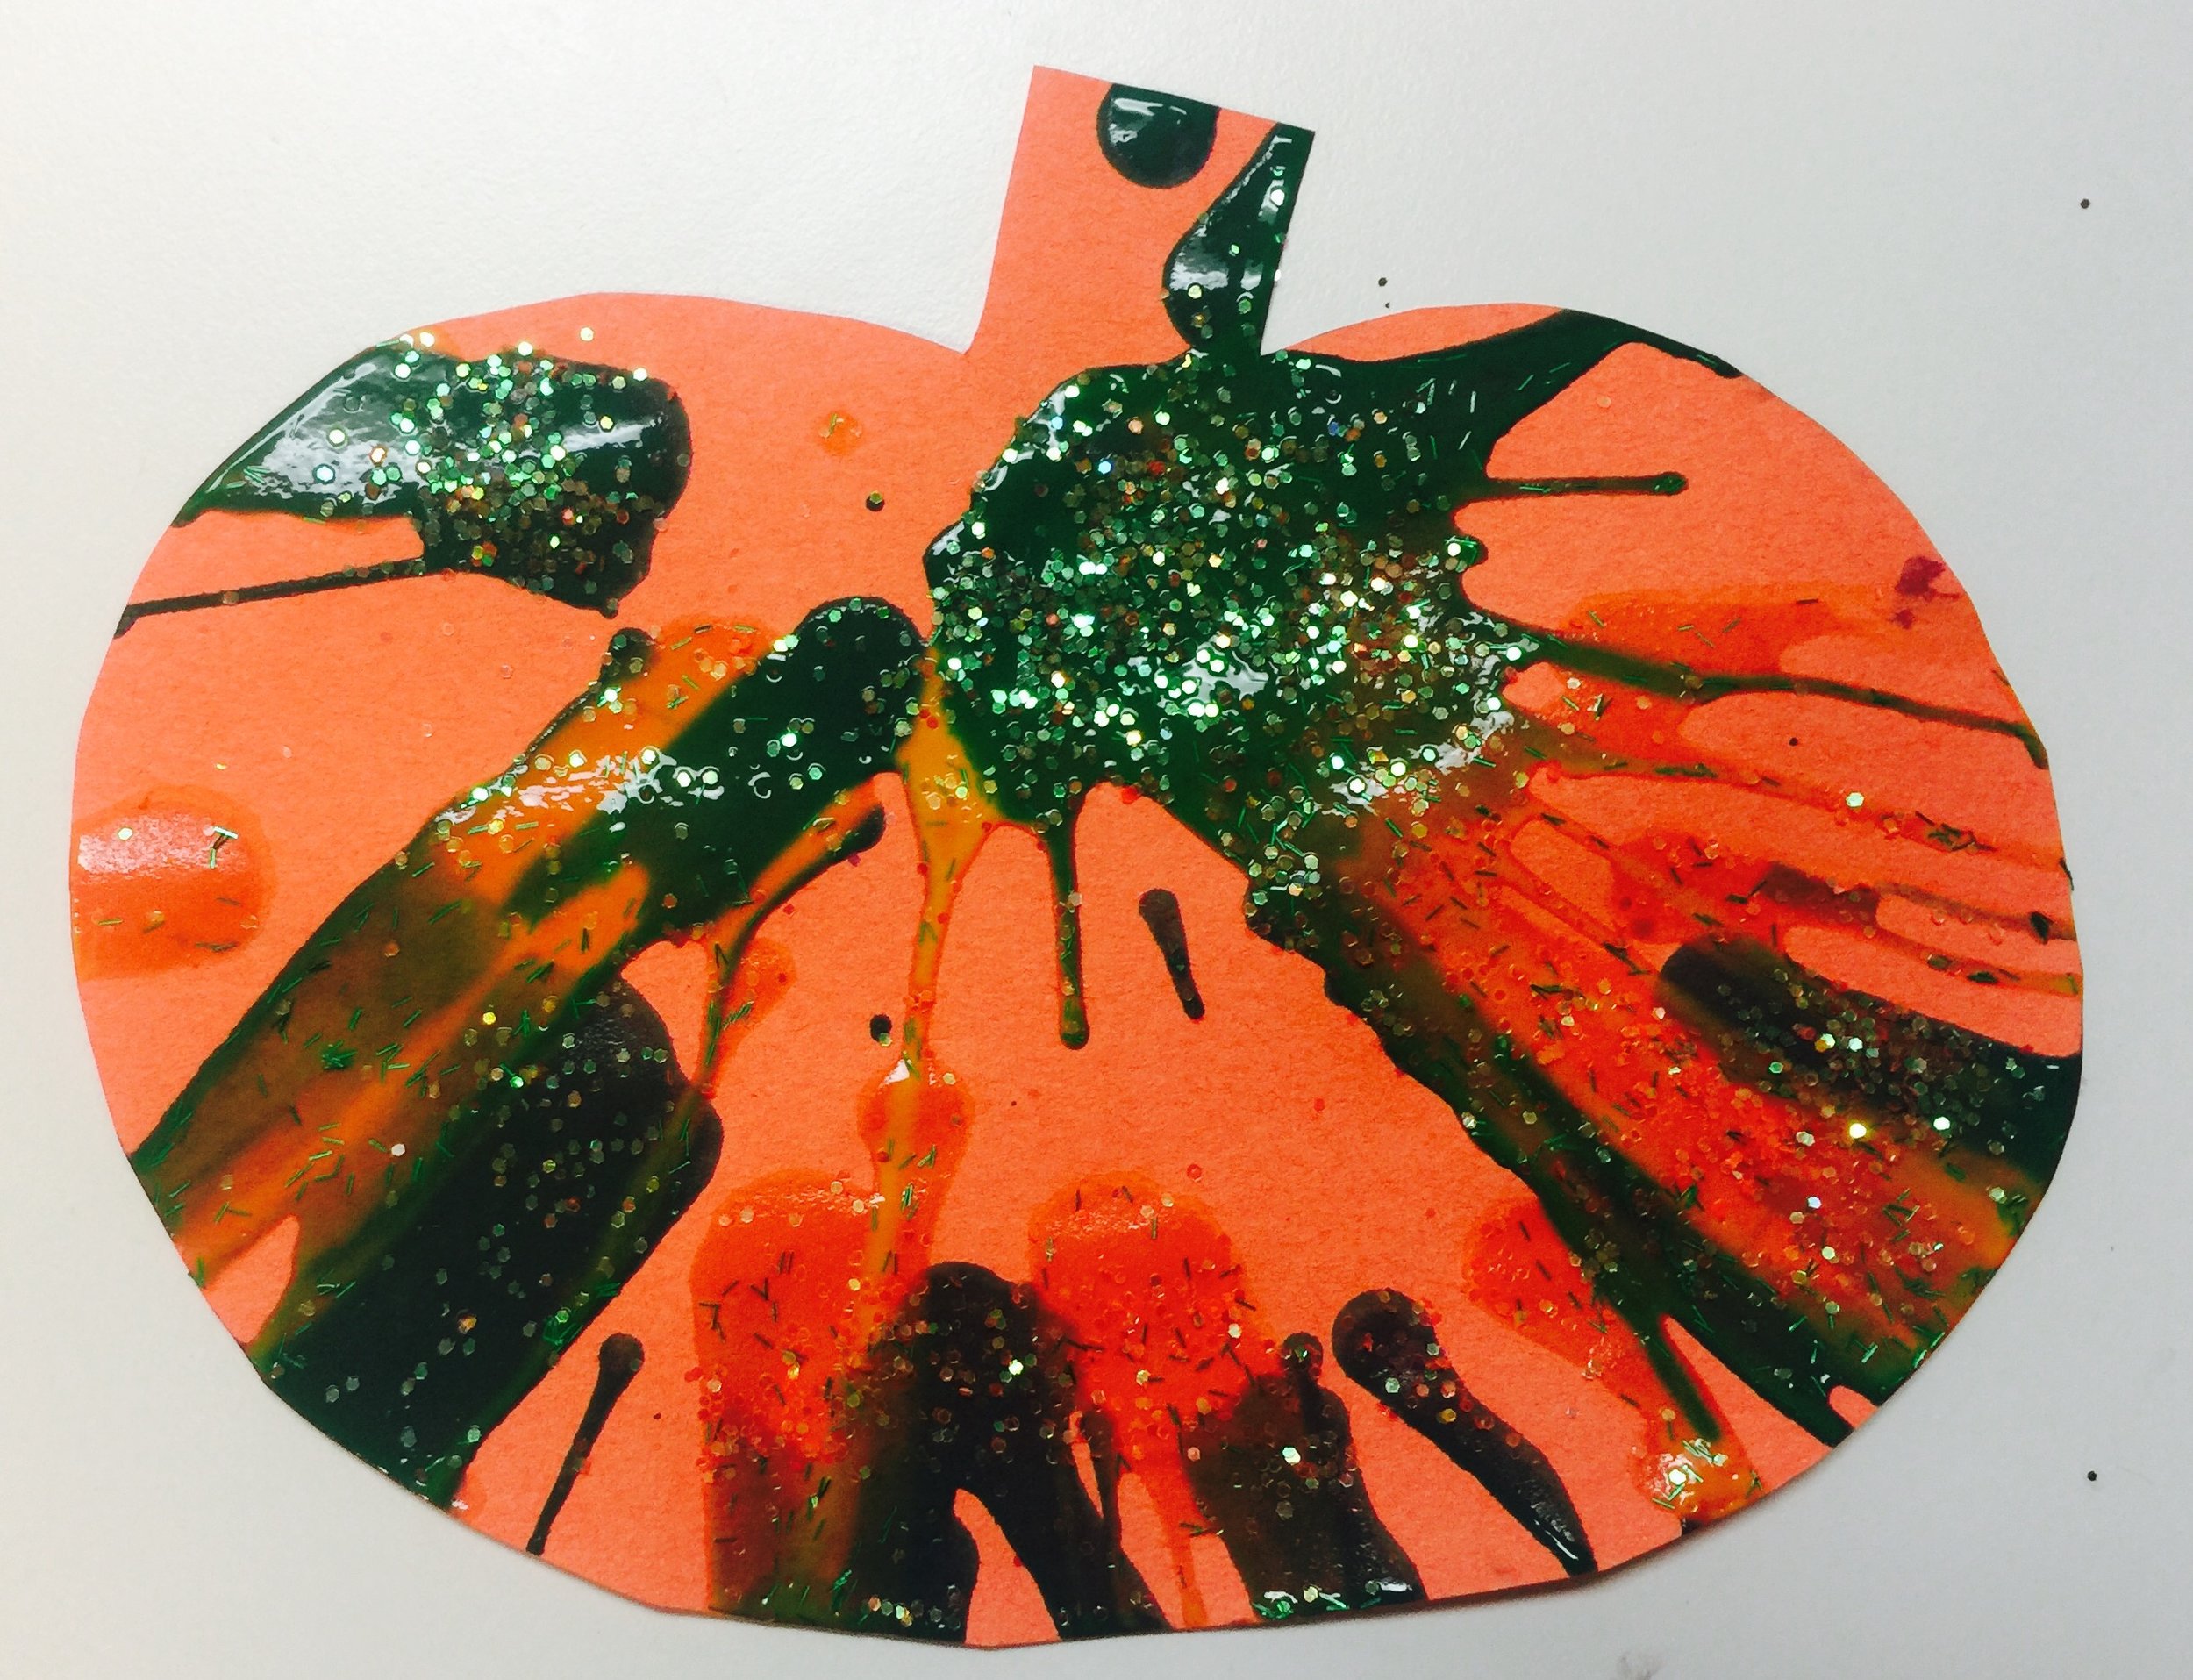
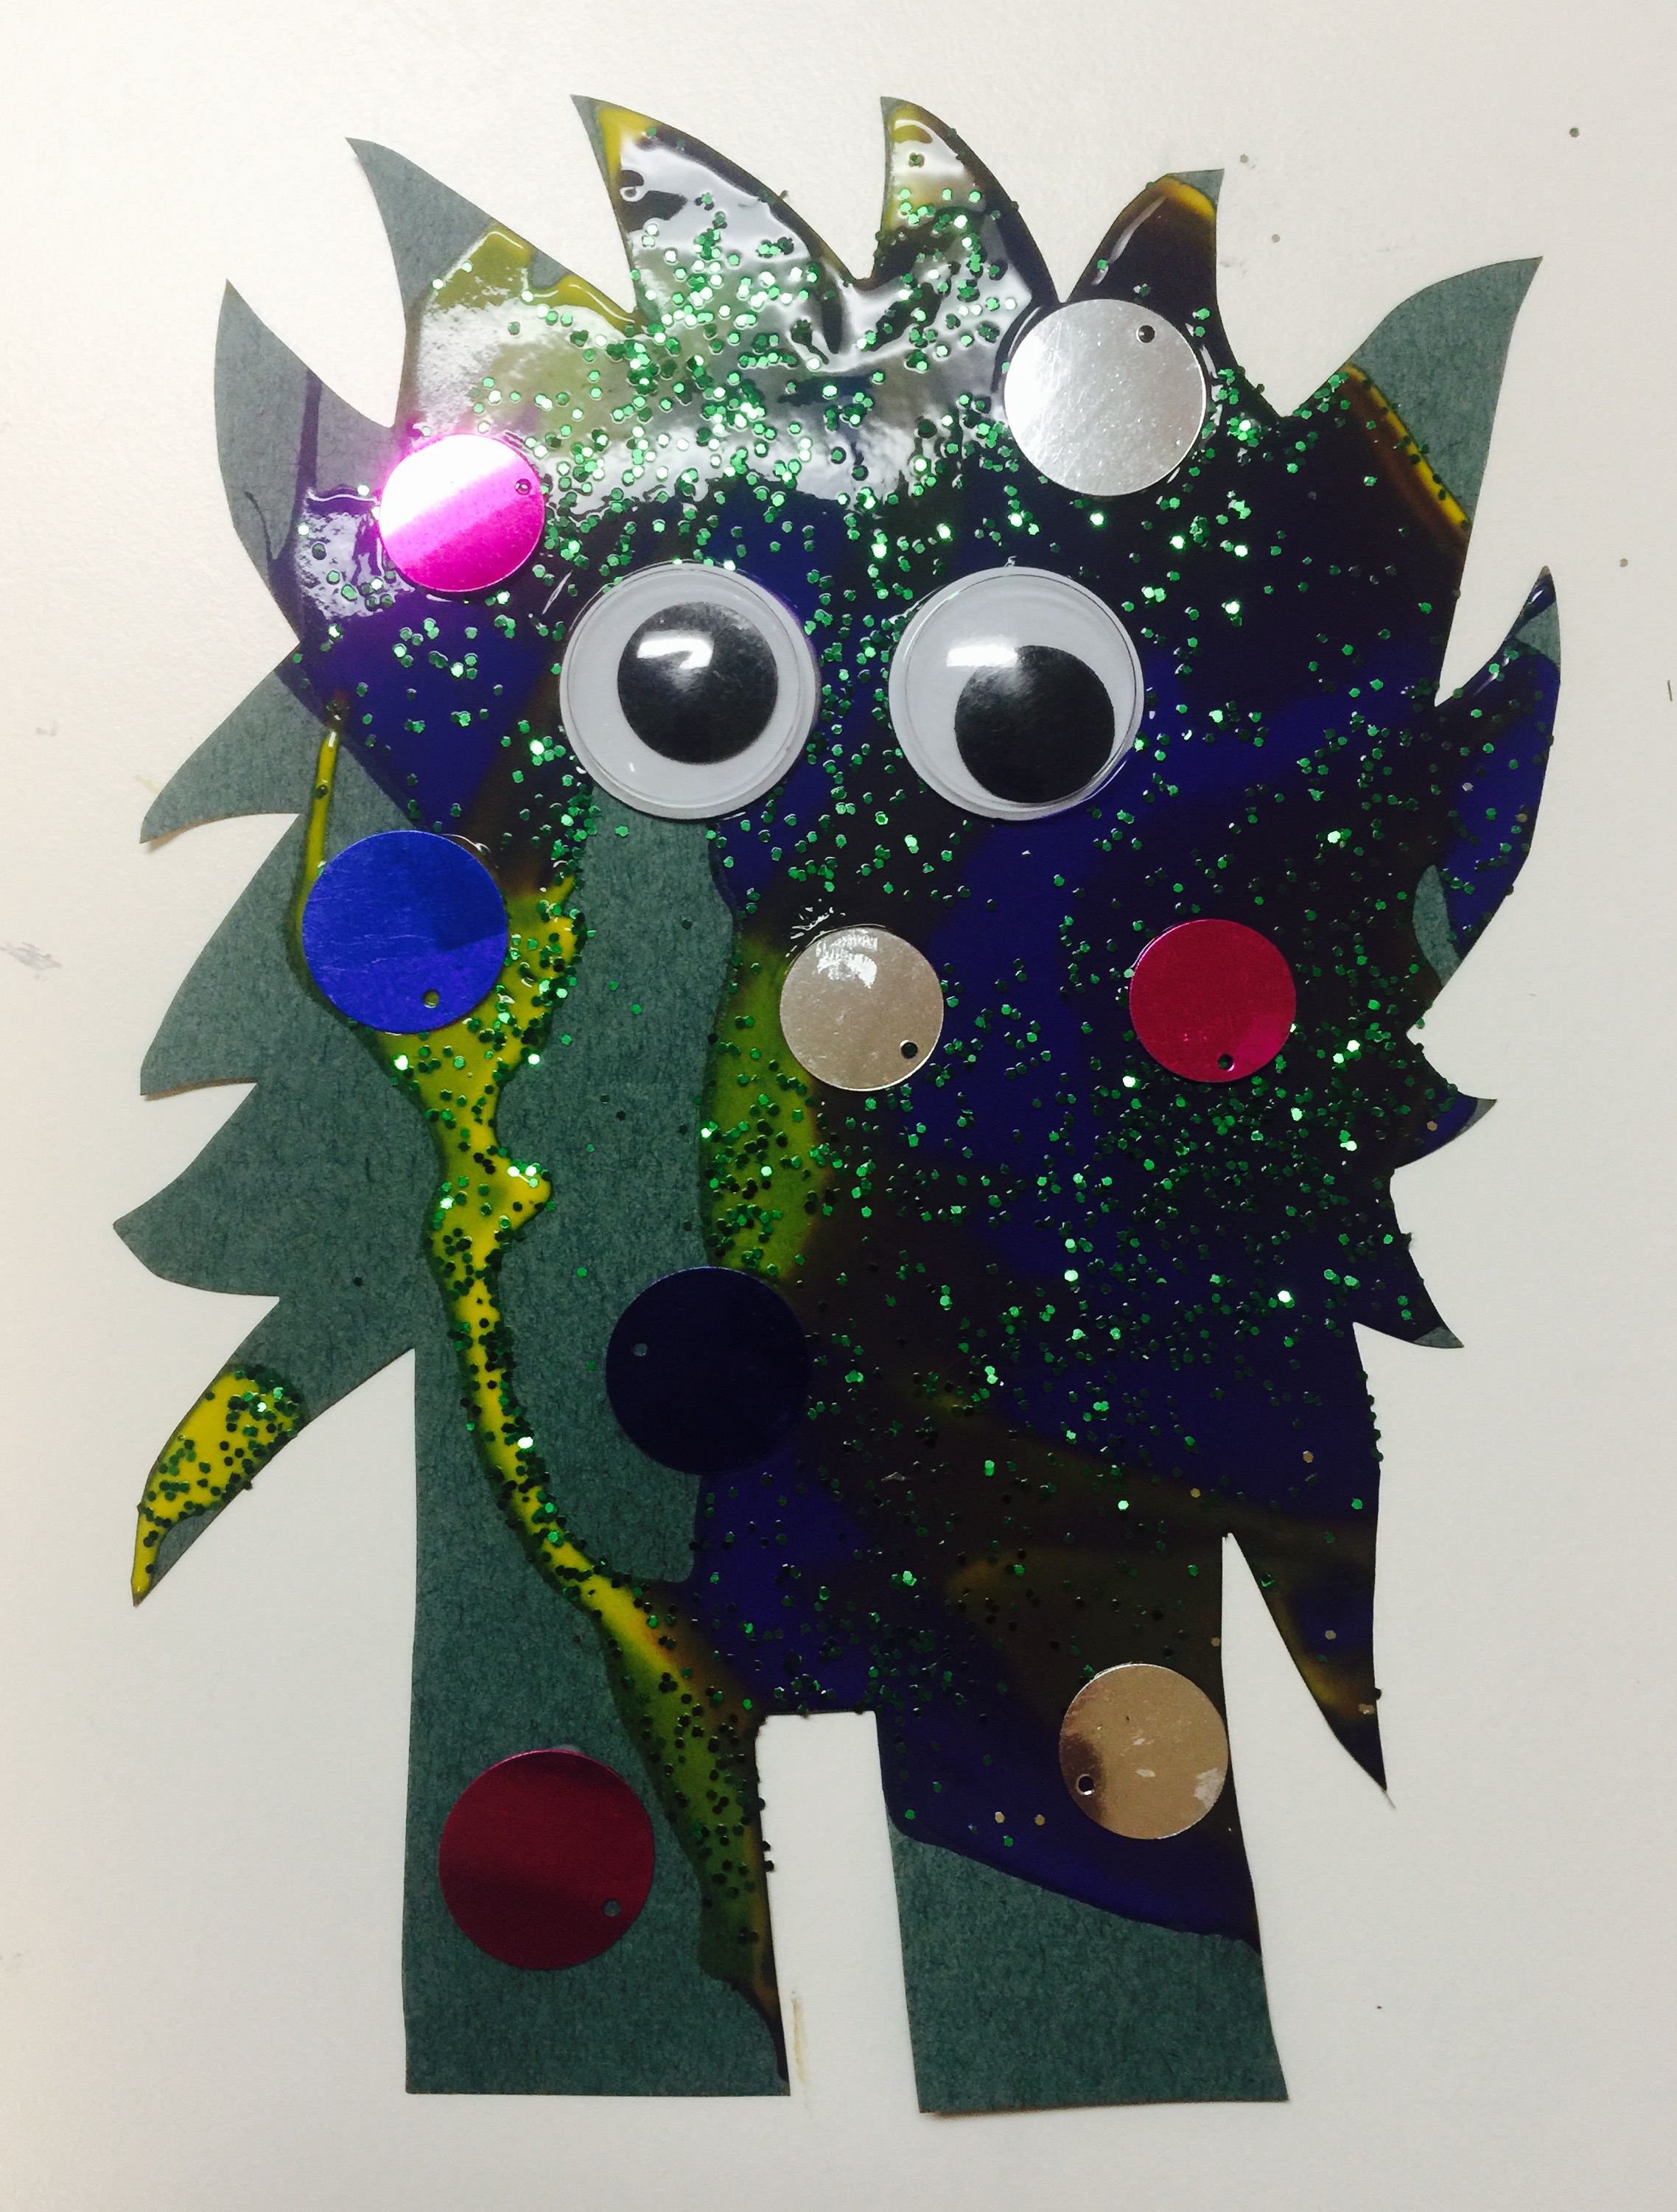
1. Draw different Halloween shapes on the paper and then cut out the shapes. Some examples include: ghost, spider, witch hat, candy corn, monster, pumpkin and a bat.

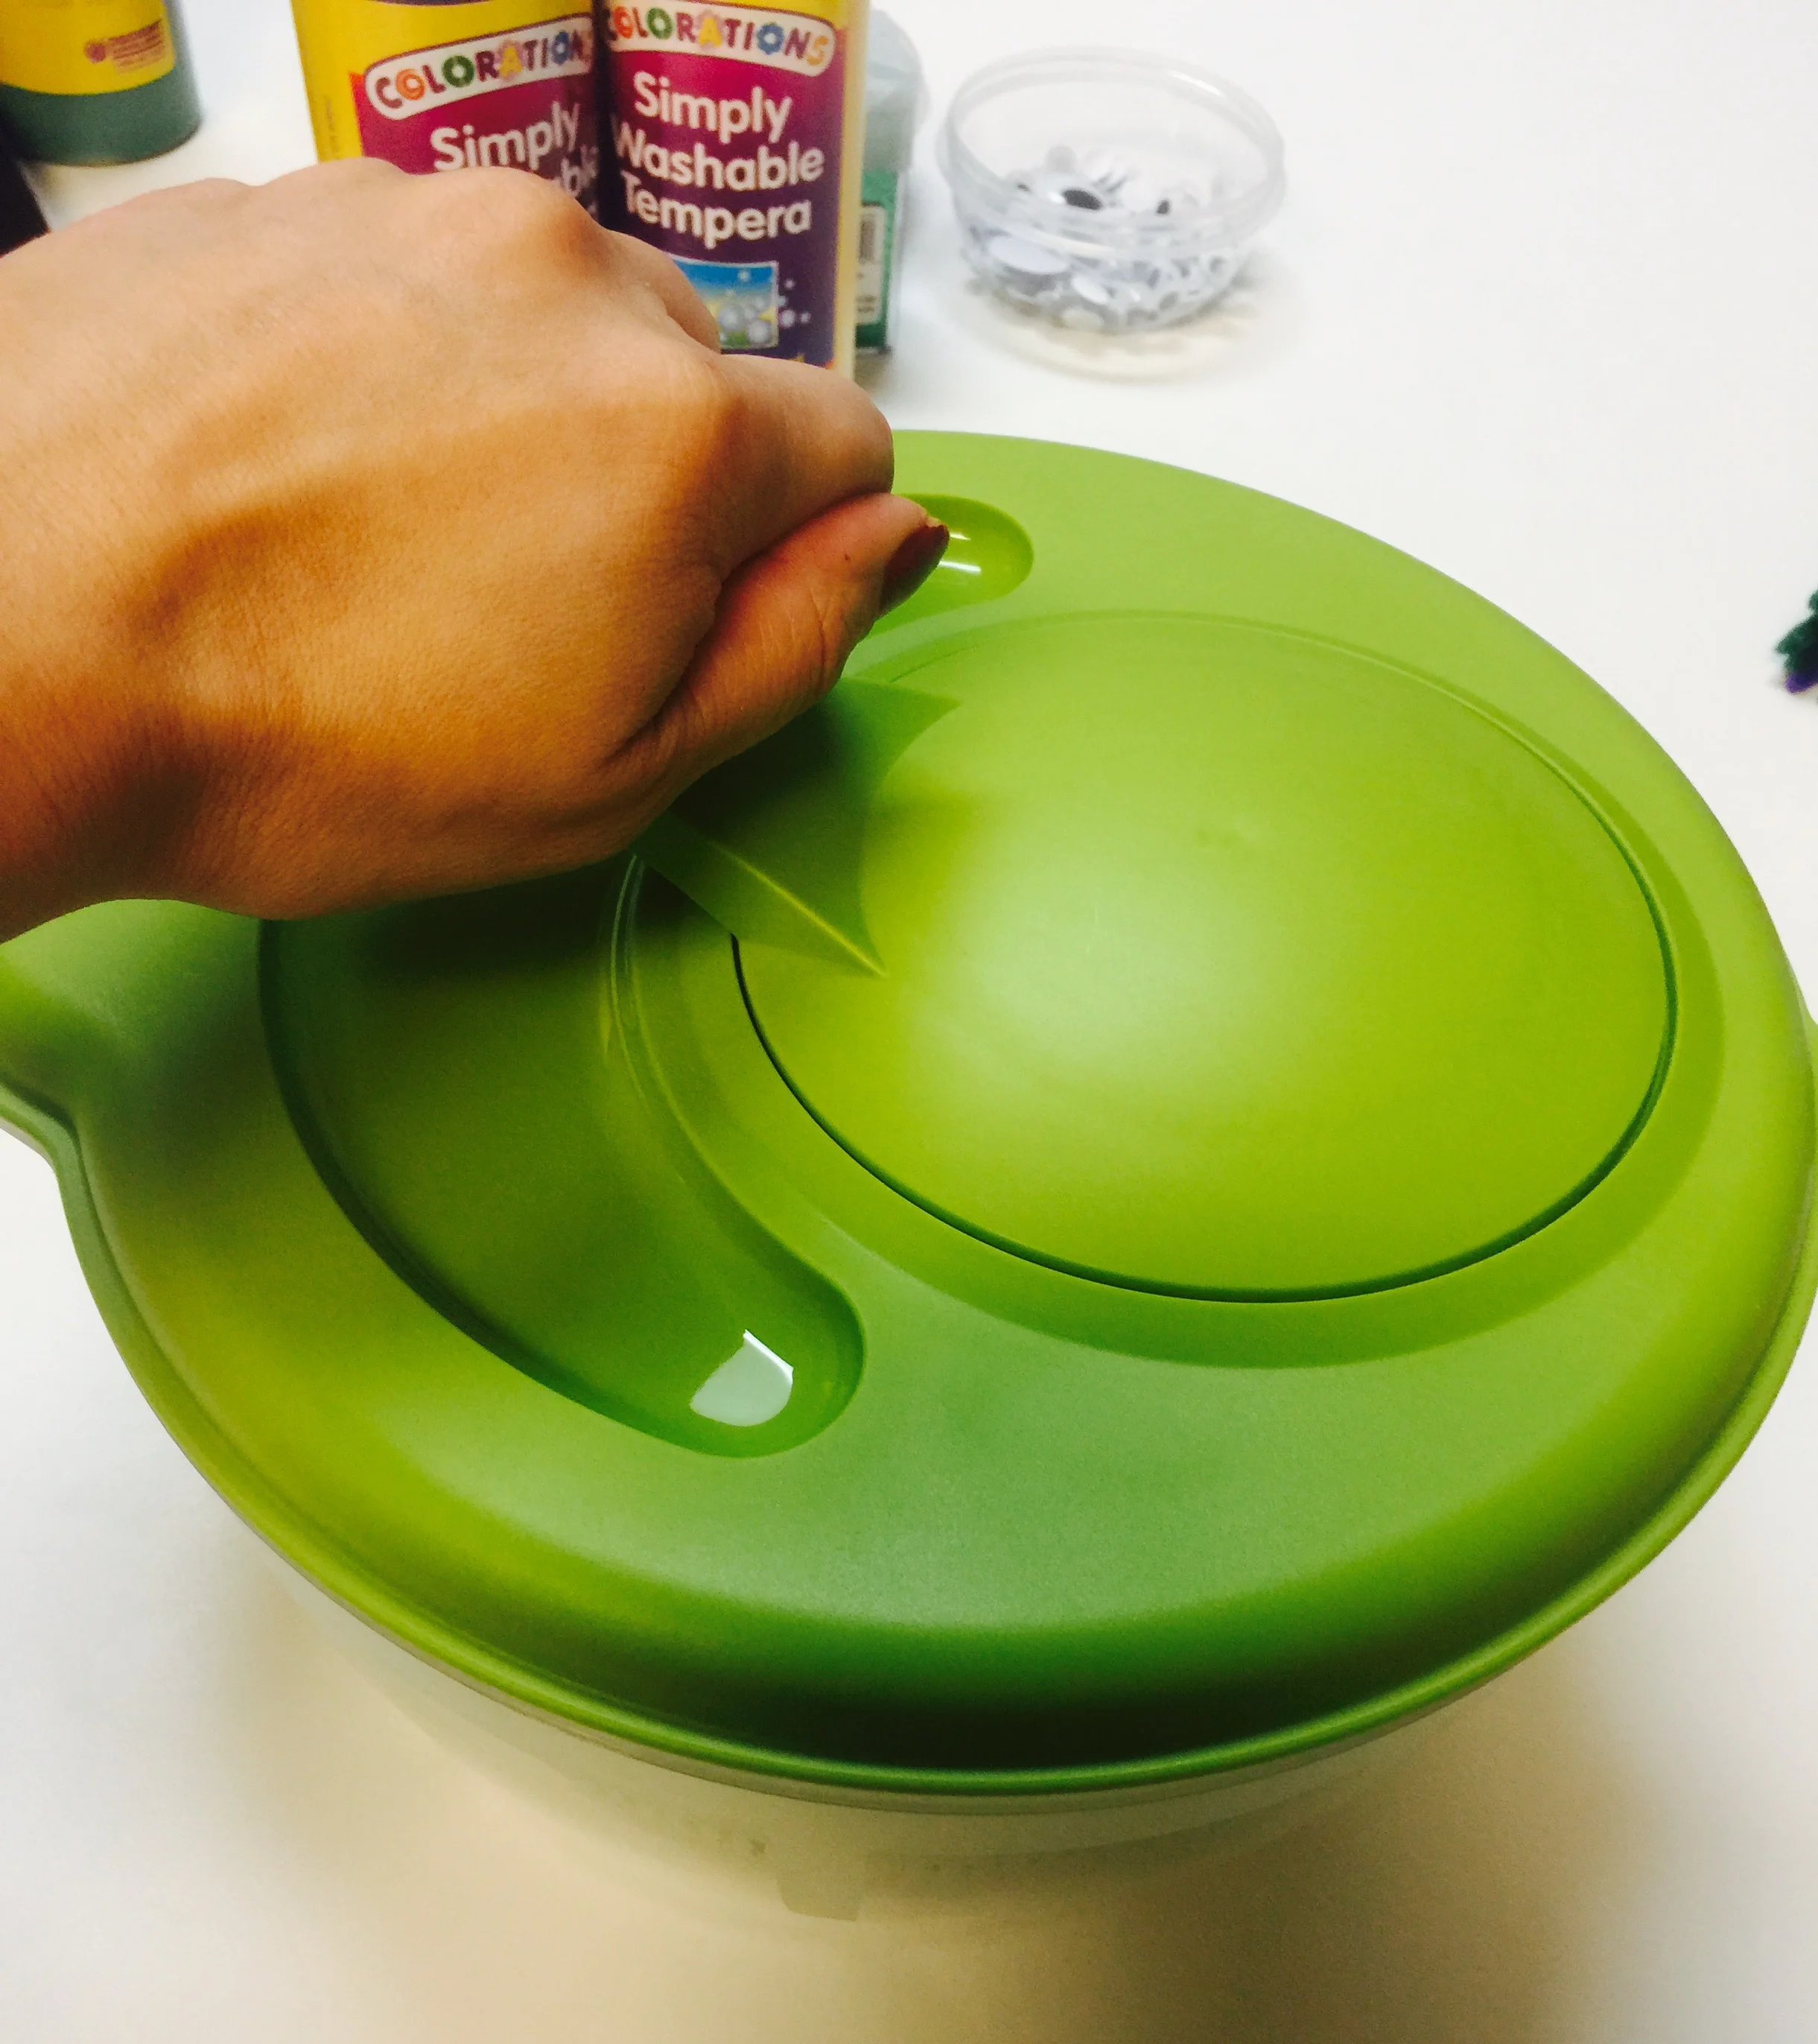
2. Insert the paper Halloween shape into the salad spinner and add paint.

3. Place the top on the spinner and give it a spin.
4. Carefully take the paper out and let it dry completely.

5. Once it is dry you can add a hole punch, pipe cleaners (see the spider) and glue on embellishments. See some examples below:
Here are some different ways to work on language and social skills:
Younger Kiddos
-Vocabulary: Learning Halloween vocabulary is very important for your child to be able to interact with others and to socially succeed on Halloween. When doing this craft, focus on a variety of vocabulary like Halloween colors (black, orange, yellow, purple); Halloween nouns (cat, bat, witch, ghost, monster, pumpkin); Halloween descriptor words (scary, funny, wow, boo, cool, like, don’t like) and more.
-Making choices: There are plenty of opportunities for them to make choices while making this craft. Some examples include: color of paint (orange or black?), color of paper (white or purple?), which shape to make (circle or square?), color of decoration (yellow or red?), how to spin (fast or slow), and much more.

-Following directions: You can use a visual activity board to help them follow directions as they make the craft. For example “First put paper in the spinner.” Be sure to point to the visual board as you are modeling the language. Afterwards you can use the activity board to help them talk about how they made the craft. Taking pictures of them making the craft and then reviewing the pictures afterwards it is also a great visual support.

-Commenting: Incorporating basic concepts such as colors, shapes, fast/slow, wet/dry, a lot/ a little, etc. is a great way to help them talk about each other’s painting. For example “Look! Orange pumpkin! Cool!”

-Turn taking: If you are doing this with more than one child, have each on take turns spinning the paint. If there is only one child then you can take turns with them. Work on the language “Name’s + turn”; “My turn”; “Your turn”.

Older Kiddos
-“How To” skills: After they have made the craft, have them tell you how they made it. You could even make one as they are giving you the steps. One way to help them with this is to discuss and write down the important sequence and vocabulary words.

-Problem solving: Create opportunities for them to have to problem solve such as: not trimming the paper ahead of time for it to fit in the spinner, not having a hole punch to think of other ways to make a hole in the paper, and more. To help them with this you may need to “think out loud” and write down different options to solve the problem.
Even though this is a simple and easy craft, there are so many skills your child can work on and they won’t even know they are “working”! Happy Halloween!
~KidSpeak, LLC
The Picture Communication Symbols ©1981-2018 Tobii Dynavox are used under contractual agreement and were created by KidSpeak, LLC. All rights reserved worldwide.